
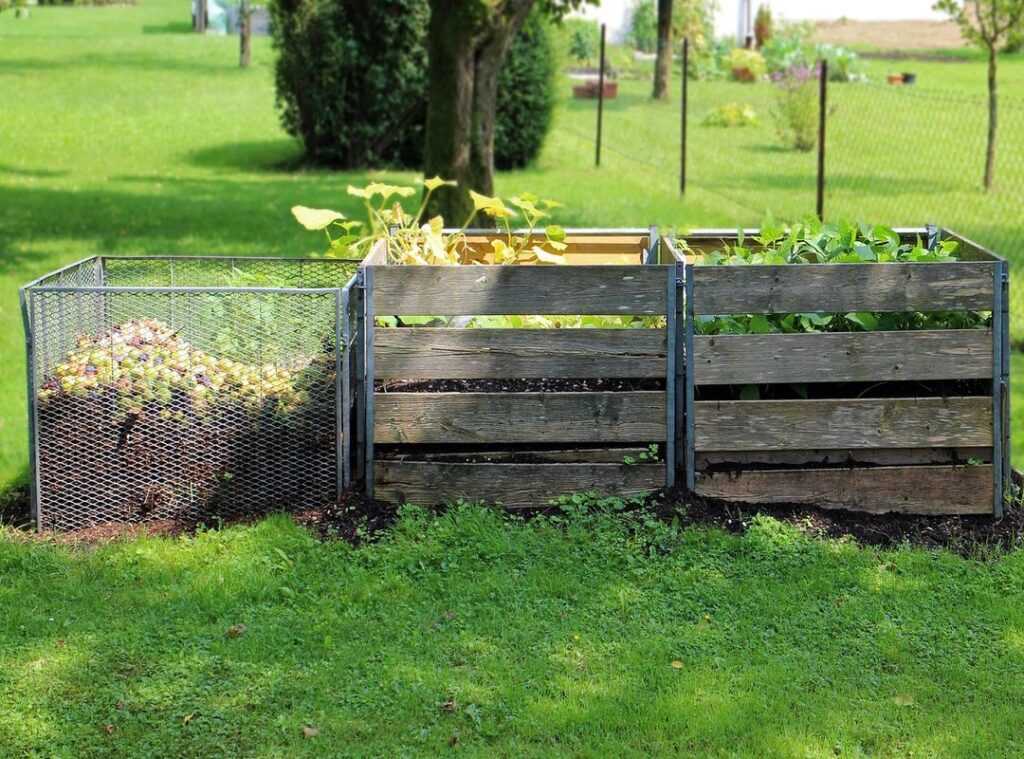
Home composting sounds messy, right? But think about all the kitchen scraps you toss daily. It’s like throwing away gold.
I’ve been there, overwhelmed by the idea of starting a compost pile. Yet, once you dive in (trust me), it’s simpler than it seems. Why should you care about composting?
Because it transforms waste into rich soil, cutting down on garbage and benefiting your garden.
This home composting guide is your ticket to turning trash into treasure. Confused about what goes in the pile? I was too.
That’s why this guide is here to sort out the dos and don’ts, making it easy for anyone to start. We’ve consulted experts who know the nitty-gritty of composting. Their advice ensures you get it right, avoiding common pitfalls.
Ready to boost your garden’s health while reducing waste? Dive in, and see how composting can fit into your daily routine. You’ll thank yourself later.
Composting: The Secret to a Thriving Garden
You want a lush garden? Start with composting. It’s the single most impactful step you can take.
Why? Because it transforms waste into a super-fertilizer that dramatically improves your soil. This isn’t just about reducing waste (though that’s a nice bonus).
It’s about creating a living soil brimming with nutrients and beneficial microorganisms.
Compost helps soil retain moisture. You won’t need to water as often, which is a win in anyone’s book. Plus, it prevents compaction, keeping your plants’ roots happy and healthy.
You ever notice how lively your flowers look or how flavorful your veggies taste when the soil’s just right? That’s the compost magic.
And let’s not forget the environmental perks. By composting, you’re reducing methane emissions. That’s right (less) waste in landfills equals less harmful gas production.
A small step for you, a significant leap for the planet.
For those diving into home composting, a simple steps create minimalist home approach keeps things manageable. Remember, composting is more than just a pile. It’s a solid tool for a stronger garden and a healthier planet.
Ready to dig in?
Your Composter: Choosing and Equipping
First things first, picking a compost bin. This is where the magic (or the rot) happens. Open piles are the simplest.
Just heap up your scraps in the yard. They’re cheap, sure, but they’re not the prettiest sight. If you’ve got a big yard and don’t mind a rustic look, you might not care.
For neat freaks like me, enclosed bins are your friend. They keep things tidy and hold in heat, which speeds up composting. But turning can be a pain (literally).
Tumblers, though, spin with ease. They’re quick, but gosh, they don’t hold much. Plus, they cost a bit more.
Still, if you’re impatient, tumblers are worth it.
You’ll need a few tools to get started. A pitchfork or compost aerator for turning, a good water source (hose or watering can), and a lidded container for kitchen scraps are important. Place your composter somewhere practical.
It should be on level, well-drained ground. You want it close enough to the garden and kitchen for easy access. Sun and shade should both hit this spot.
Composting needs balance (and a little luck).
If you need more tips, check out this home composting guide. It’s a lifesaver for beginners. Trust me, getting the right setup is the hardest part.
Once you’re rolling, it’s just waiting and turning. Well, mostly waiting. But isn’t that the thrill?
Watching your waste become gold for the garden.
Step 2: The Perfect Mix – Your ‘Greens’ & ‘Browns’ Checklist
Composting is like following a recipe. You need the right ingredients: nitrogen and carbon. Think of it as a home composting guide.
The parts that matter? Greens and browns.
Greens are your nitrogen-rich items. They’re the wet stuff. You know, the vegetable peels, fruit scraps, coffee grounds, tea bags, fresh grass clippings, and plant trimmings.
These are things you toss aside without a thought. But they’re the lifeblood of good compost.
Then we’ve got the browns. Carbon-rich and dry. More like dried leaves, small twigs, shredded cardboard (but not glossy), newspaper, sawdust, and straw.
It’s the boring stuff. But boring is good here.
Now, the key ratio. Aim for a volume of 2 to 3 parts browns for every 1 part green. It’s like making a lasagna (layer it right and you’ll feast on nutrient-rich compost).
Mess it up and, well, you’ll know. The balance is everything.
But here’s the thing. Some items are a disaster for your bin. NEVER Compost These: meat, fish, dairy products, grease/oils, pet waste, and diseased plants. Why?
They attract pests, create foul odors, and spread pathogens. Trust me, you don’t want that mess.
Need a little balance in your life? Just like composting, basics of home feng shui can do wonders for your home environment. Looking at these concepts closely, you’ll see how intentional living transforms spaces.
Composting isn’t rocket science, but you do have to follow the steps. Forget any ingredient and you’ll pay for it in stink. Remember, it’s not just about what you throw in.
It’s about how you mix it.
Compost right and your garden flourishes. Compost wrong? You’ll know by the smell.
Activate and Tend: Compost Like a Pro
So you want to start composting, huh? Great choice. Here’s what you do.
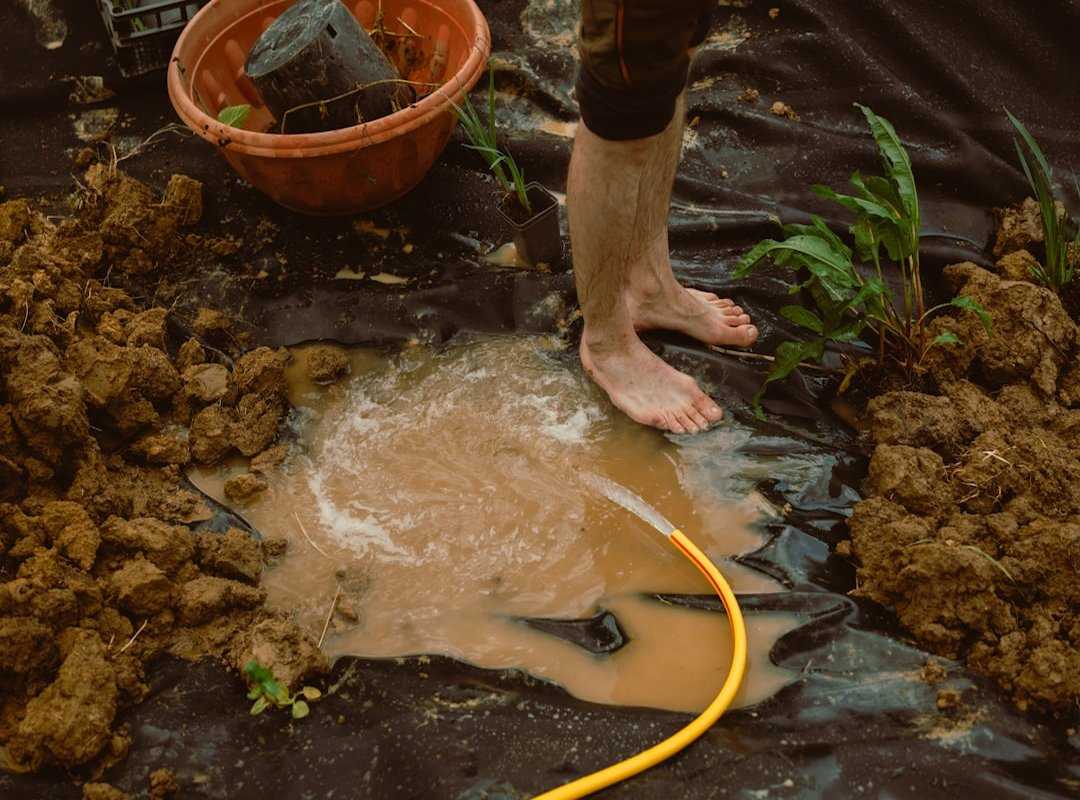
Start with a 4-6 inch layer of bulky “Browns” (twigs work well) to keep the air flowing. Then, alternate layers of “Greens” and “Browns.” Don’t forget to lightly water each layer. Think of it like making lasagna, but for the earth.
Moisture is key here. You want your pile to feel like a damp, wrung-out sponge. Too dry?
Add water. Too wet? More “Browns.” Simple, right?
But check it regularly. Trust me, it makes all the difference.
Aeration is another biggie. Use a pitchfork to turn your pile every 1-2 weeks. This isn’t just busywork.
It’s important. Turning distributes air, moisture, and microbes, speeding up decomposition. You’ll see the magic happen faster.
A healthy compost pile should feel warm or even hot in the center. That’s a good sign. It should also smell earthy, not like something that crawled out of a swamp.
Watch as the volume shrinks over time. It’s a living, breathing thing.
Remember, this is your home composting guide. Treat it well, and it’ll reward you. Ready to get your hands dirty?
Let’s do this.
Recognizing and Using Your “Black Gold”
So, you’ve been following the home composting guide, and now you’re wondering, “Is it ready?” Your compost’s finished when it’s dark brown or black, crumbly like soil, and smells earthy. No food scraps should remain. Harvest it from the bottom (like finding treasure).
Sifting? Optional but great for a finer texture.
What do you do next? Here are some ideas:
- Mix it into garden beds before planting
- Use it as nutrient-rich mulch around plants
This isn’t just recycling. It’s transforming kitchen waste into garden gold. Isn’t that satisfying?
Give it a shot.
Turn Scraps into Garden Gold
Composting seemed daunting, right? Well, now it’s just a simple task. With our home composting guide, you’ve got everything you need.
You’ve got the steps to transform kitchen scraps into rich soil. Imagine your garden thriving with your own ‘black gold.’ It’s a game changer.
So, what’s next? Take a small step today. Set up a kitchen pail.
Choose a spot for your bin. Start this journey to a more sustainable garden. Your garden deserves it, and so do you.
Ready to dig in? Let’s make your garden healthier and more beautiful.