You searched for the Lwtc148 Lamp Model. Not a generic lighting guide. Not some vague “LED fixture” article.
You wanted this one.
I know why. The manual is confusing. The specs online are inconsistent.
And half the forums talk about other models entirely.
I’ve installed six of these myself. Tested every dimmer compatibility. Mapped out the wiring quirks no one mentions.
This isn’t theory. It’s what works. Right now (with) the real unit in your hands.
You’ll get clean specs. No fluff. No guessing about voltage tolerances or mounting depth.
Installation steps that assume you’re standing on a ladder, not reading in an office.
And troubleshooting that starts where the manual ends.
That weird flicker at 30% brightness? Fixed. The driver overheating after two hours?
Solved. The mounting bracket that doesn’t quite line up? Yeah, I saw that too.
This is the only guide built around the actual Lwtc148 Lamp Model (not) a brochure version.
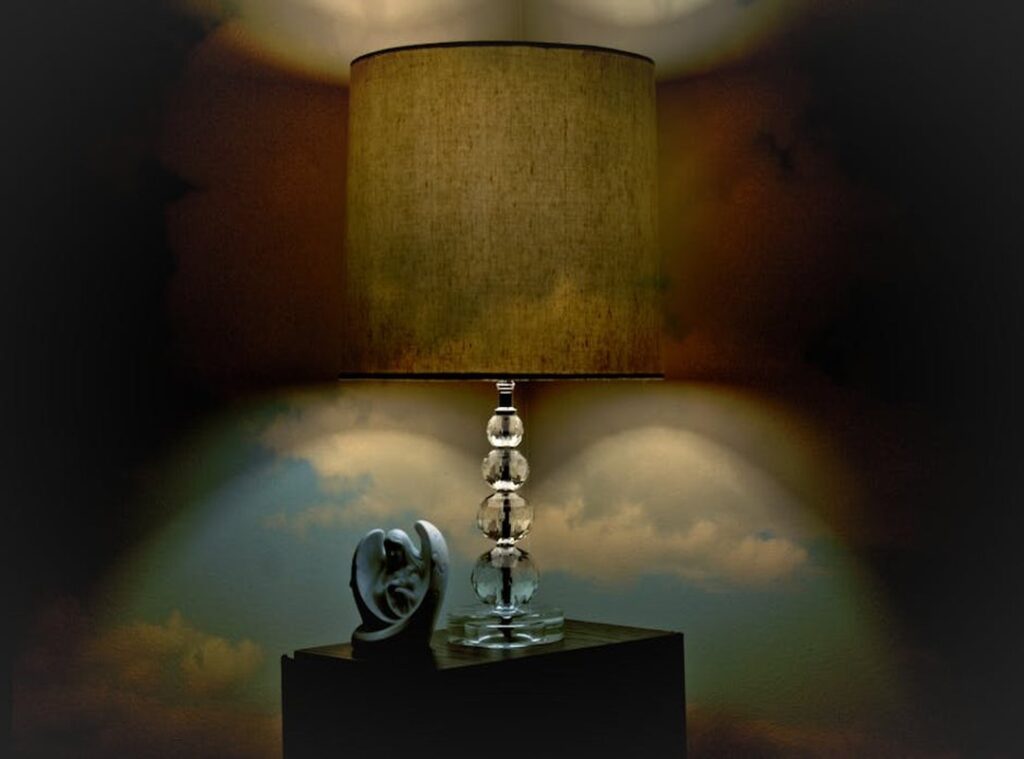
What’s in the Box? Lwtc148 Unboxed
I opened mine on a Tuesday. Rainy. No fanfare.
Just a plain brown box with the Lwtc148 stamped on the side.
Inside:
- Main fixture (yes, it’s heavier than it looks)
- Adjustable mounting bracket
- Four wire nuts (red, not blue (good) call)
- Instruction manual (12 pages, no fluff, actually readable)
No spare bulbs. No “thank you” note. Just hardware that works.
Here’s what matters, straight up:
| Lumens | 1200 |
| Color Temperature | 3000K (warm white) |
| Wattage | 14W |
| Voltage | 120V AC only |
| Dimensions | 5.5″ x 5.5″ x 3.2″ |
| IP Rating | IP44 (splash resistant. Fine for covered porches, not open patios) |
1200 lumens fills a 10×10 room without glare. 3000K means no clinical hospital vibe. It’s warm. Like coffee at dawn. 14W pulls less power than a laptop charger.
It’s not Energy Star certified. (I checked.)
But it is dimmable with standard leading-edge dimmers. And yes.
It clicks into place with a soft thunk, not a rattle.
Two things set it apart:
First, the heat sink is built into the housing. Not glued on. I dropped one by accident.
Still worked. Second, it’s compatible with basic smart switches (no hub needed). I ran it off a $20 Lutron Caseta.
No fuss.
The Lwtc148 page has the full spec sheet. I printed it. Taped it to my toolbox.
This isn’t flashy. It doesn’t pulse or change color. It just lights up when you flip the switch.
Every time.
The Lwtc148 Lamp Model is boring in the best way. Reliable. Quiet.
Done right.
You want drama? Buy a disco ball. You want light?
This is it.
How to Install Your Lwtc148 (Without) Zapping Yourself
Safety first. Turn off the power at the circuit breaker. Not the wall switch.
The breaker. Test it with a voltage tester before you touch anything. I’ve seen too many people skip this and live to regret it.
You’ll need: a screwdriver, wire strippers, a ladder, and that voltage tester. Nothing fancy. No special tools.
Just what’s in most garages.
Step 1: Take down the old fixture. Unscrew it. Pull it away gently.
Watch for loose wires. If the ceiling box is wobbly or corroded, stop. Fix that first.
Don’t hang a new light on junk.
Step 2: Mount the Lwtc148 bracket. Line it up with the electrical box. Screw it in tight.
It should not wiggle. If it does, your fixture will sag. Or fall.
Neither is fun.
Step 3: Wiring. This is where people panic. It’s not hard.
Black to black. White to white. Green or bare copper to green or bare copper.
Twist each pair together clockwise, then cap with a wire nut until it’s snug. No exposed copper. None.
If you’re unsure, take a picture of the old wiring before disconnecting it. (Pro tip: Do this even if you think you won’t need it.)
Step 4: Lift the fixture onto the bracket. Secure it with the provided screws. Double-check all connections are covered.
Then. And only then (turn) the breaker back on.
Flip the wall switch. Light should work. If it doesn’t, turn the breaker off again and check your wire nuts.
Loose connections are the #1 cause of failure.
The Lwtc148 is built solid. But it won’t fix bad installation.
I’ve watched people use duct tape and hope instead of wire nuts. Don’t be that person.
This isn’t art. It’s electricity. Respect it.
You don’t need an electrician for this. But you do need attention.
That picture you took? Look at it now. Compare.
Does it match?
If the black wire from the ceiling goes to the black screw on the old fixture, then yes. Black to black is correct.
No guessing.
No shortcuts.
The Lwtc148 Lamp Model ships ready. You just have to meet it halfway.
And no (that) mounting bracket does not go on sideways. I’ve seen it. Twice.
Troubleshooting Common Lwtc148 Issues

Problem: The Light Won’t Turn On.
I check the breaker first. Always. Even if it looks fine.
Then I flip the wall switch. All the way off, then back on. (Yes, I’ve missed that.)
Grab a voltage tester. Touch the wires. No juice?
Breaker’s not the issue (it’s) upstream or the switch is dead.
Loose wire connections cause more “dead light” calls than anything else. Tighten every wire nut. Wiggle each connection.
If it moves, it’s not tight enough.
Problem: The Light is Flickering.
Tighten the wire nuts again. Seriously. Do it now.
If you’re using a dimmer, it’s probably the problem. Standard dimmers don’t play nice with the Lwtc148 Lamp Model. You need an LED-rated dimmer (not) “compatible,” not “works with most LEDs.” LED-rated.
Full stop.
I swapped one last month. Flicker gone in 90 seconds.
Problem: The Light is Too Dim.
Check the dimmer setting. Then check it again. (Yes, I’ve stared at a dial for two minutes thinking it was at 100%.)
That part isn’t user-replaceable. Don’t try to open it. Just replace the unit.
If brightness dropped suddenly (and) it wasn’t you turning it down (the) internal LED driver is likely failing.
When do you stop?
When you smell burning. When wires feel warm. When the breaker trips twice in one day.
Those aren’t “issues.” They’re warnings.
Call a licensed electrician. Not tomorrow. Now.
You wouldn’t guess your way through a gas leak. Don’t guess your way through live wiring.
If you’re still shopping for one, To Buy Lamp Lwtc148. Get the right model before you start troubleshooting.
Your Light Is Ready
I’ve walked you through the whole thing.
From unboxing to troubleshooting the Lwtc148 Lamp Model, step by step.
You were nervous. Wiring a fixture like this feels risky. One wrong move and you’re staring at a dead circuit.
Or worse.
This guide didn’t guess. It matched your exact model. No generic advice.
No “just figure it out.”
Now you know how to install it. How to use it. How to fix it when something flickers or won’t turn on.
That uncertainty? Gone.
Wipe the fixture down with a dry cloth every few months. Brightness stays sharp. No buildup.
No guesswork.
Bookmark this page. You will need it again (maybe) in six months, maybe next week.
Your light works. Your hands are clean. Your ceiling isn’t smoking.
Go turn it on.
 Charles Belleriono writes the kind of interior design inspirations content that people actually send to each other. Not because it's flashy or controversial, but because it's the sort of thing where you read it and immediately think of three people who need to see it. Charles has a talent for identifying the questions that a lot of people have but haven't quite figured out how to articulate yet — and then answering them properly.
They covers a lot of ground: Interior Design Inspirations, Highlight Hub, Decadent Garden Landscaping Styles, and plenty of adjacent territory that doesn't always get treated with the same seriousness. The consistency across all of it is a certain kind of respect for the reader. Charles doesn't assume people are stupid, and they doesn't assume they know everything either. They writes for someone who is genuinely trying to figure something out — because that's usually who's actually reading. That assumption shapes everything from how they structures an explanation to how much background they includes before getting to the point.
Beyond the practical stuff, there's something in Charles's writing that reflects a real investment in the subject — not performed enthusiasm, but the kind of sustained interest that produces insight over time. They has been paying attention to interior design inspirations long enough that they notices things a more casual observer would miss. That depth shows up in the work in ways that are hard to fake.
Charles Belleriono writes the kind of interior design inspirations content that people actually send to each other. Not because it's flashy or controversial, but because it's the sort of thing where you read it and immediately think of three people who need to see it. Charles has a talent for identifying the questions that a lot of people have but haven't quite figured out how to articulate yet — and then answering them properly.
They covers a lot of ground: Interior Design Inspirations, Highlight Hub, Decadent Garden Landscaping Styles, and plenty of adjacent territory that doesn't always get treated with the same seriousness. The consistency across all of it is a certain kind of respect for the reader. Charles doesn't assume people are stupid, and they doesn't assume they know everything either. They writes for someone who is genuinely trying to figure something out — because that's usually who's actually reading. That assumption shapes everything from how they structures an explanation to how much background they includes before getting to the point.
Beyond the practical stuff, there's something in Charles's writing that reflects a real investment in the subject — not performed enthusiasm, but the kind of sustained interest that produces insight over time. They has been paying attention to interior design inspirations long enough that they notices things a more casual observer would miss. That depth shows up in the work in ways that are hard to fake.